Sketching a Website Layout
This is the second part of my 4-part series taking your behind the scenes of my web design process. Check out the first installment where I take you through the branding process.
After finishing up the branding design I get started with working out the layout of the website, which is what we’ll cover in this blog.
Defining the Website’s Customer Journey
Before ever putting pencil to paper, or indeed opening up my design software, I like to get to know a bit more about the business I’m working with and their ideal clients. This helps me get into the mind of their potential customers and figure out what the most important elements of the website will be.
Continuing with my fictional project for aBaby Sleep Trainer I’ve named Jessica Knight; I’d start by learning about her current business and where she is aiming to grow in the upcoming years. We’d then talk in detail about her current clients and establish if her website should continue to speak to them or work on attracting a slightly different clientele.For the purposes of this project, we’re adding in her workbook as a new entry-point offer to attract a broader audience and to position her 1:1 video consultation as the middle tier for her offers.
With this in mind, I work out the customer journey – or the paths that potential customers might take from their first interaction with her site to a purchase. Since we want to drive traffic towards the workbooks, I’ll feature them throughout the homepage and give them a prime position on the top navigation.
This post dives deeper into website strategy and mapping out your customer journey.
Sketching the Homepage Design
Once I have the strategy nailed down with my client, I get started by sketching a rough outline (also known as a wireframe) of the homepage to figure out the overall layout. At this stage I like to keep my drawings fairly loose since I’m trying to work out the overall flow of the page and the general look of the layout.
I like to start with homepage as it is one of the more important pages on any site, and is a great way to establish the overall style since it often includes a high-level overview of what the website offers.
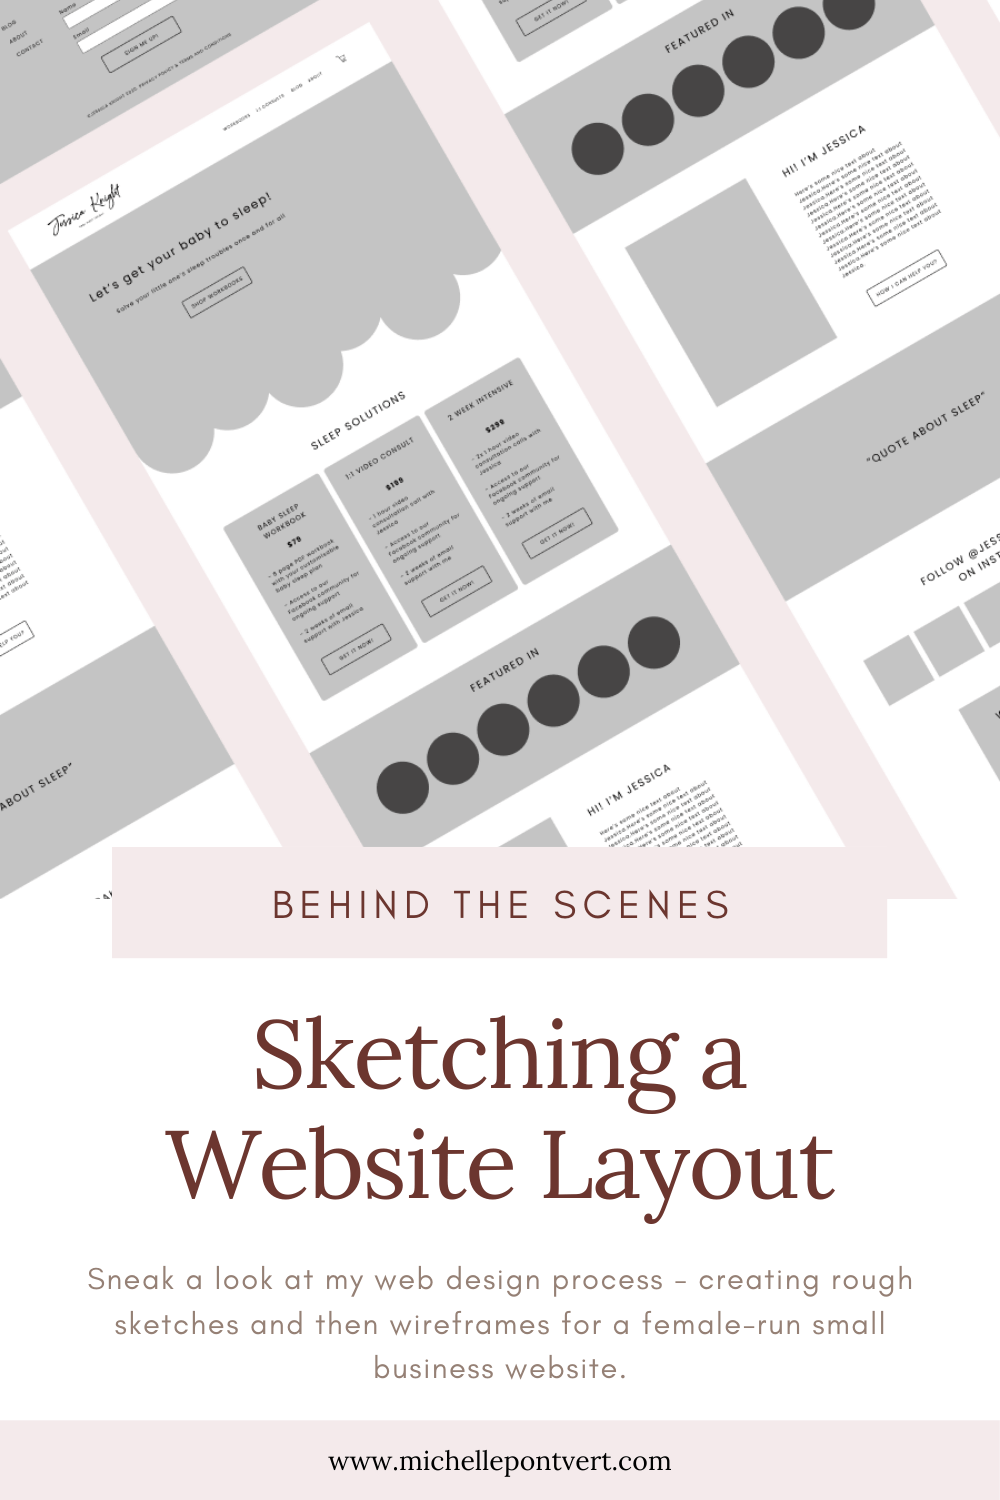
For Jessica’s site, I’ve sketched out the homepage with the main sections we’d need to include to guide her potential clients to the right next step in their customer journey. Since we want to feature the workbooks, I’ve made sure to place them in the navigation bar, in the “hero” section at the top of the page and in the services preview right underneath. I’ve also added some suggestions for styling such as the cloud shaped hero section and the footer to anchor the design in the gentle, approachable, baby-centred feel of her brand.


Sketching a Website Layout
With my sketched-out homepage in hand, I then start building out a digital wireframe design in Figma (my preferred design software). These wireframe designs are very basic and deliberately don’t include photos, colors or any font choices yet.
This helps me work out the more technical elements of the design, such as spacing between sections and grid layouts. It also helps keep the client journey at the heart of my designs since I’m focusing first on the usability and overall flow of the site, before laying in any of the pretty design elements.
I like to work on fleshing out just the homepage to start to set the tone for the whole site and to give my clients something they can react to fairly quickly.
Presenting the Wireframe Designs to my Client
Once I have the main pages designed, I’ll jump on a call with my client to share my design and the thought process behind the choices I’ve made thus far. I love giving the client a chance to see their new website at this stage before anything feels too final. I think this gives them more space to offer their input without worrying about offending me!
To be honest, this can be a tricky moment for some clients since they may not know what to say about a design that isn’t done yet. So, I like to walk them through my though process and the customer journey we’ve mapped out and then ask for any feedback that might make their site work better for their ideal customer. This collaboration makes such a difference to the final design, since we’re both able to bring our unique expertise to the process and come up with something that speaks directly to their target audience.
Depending on the scope of the project, after presenting the homepage design to the client and taking onboard their feedback I may also draft up wireframes for the other pages on the website. I’ll often add in this step if we’re creating something really unique on a specific on a particular page or if the overall design of the site calls for a more thorough plan for individual pages. While this can add a little more time to our project, it almost always pays off with amazing final designs and a cohesive experience for potential clients.

Adding Content to the Designs
A very important step in the whole design process is making sure that the content that will be on the site is top notch. Before even start working on the Brand Design together, I send over a workbook to help clients write new text for their websites if they aren’t keeping their current text or having me write it for them (a great add-on service I offer btw!). It’s a pretty thorough workbook which guides you through each section of the website and what sorts of things to include at each point.
I also ask for any existing brand or product photos before we get started and review these with the client in our very first call to make sure they’ll work for the website. I’ll curate a selection of photos that work with the new branding and website layout if we need to fill out the site a bit further.
Once I have all of the text and images destined for the website, I get to work filling in the wireframe designs with the final content and adding the business’s branding to complete the look. I’ll go into this stage in my process in more detail in the next blog;)